
How to make a family tree poster, step by step
You do not need design skills. If you have a family tree on a website or in a program, you can turn it into a poster in an evening. This guide walks through each step.
- No sign-up
- No watermark
- Your file never leaves your browser
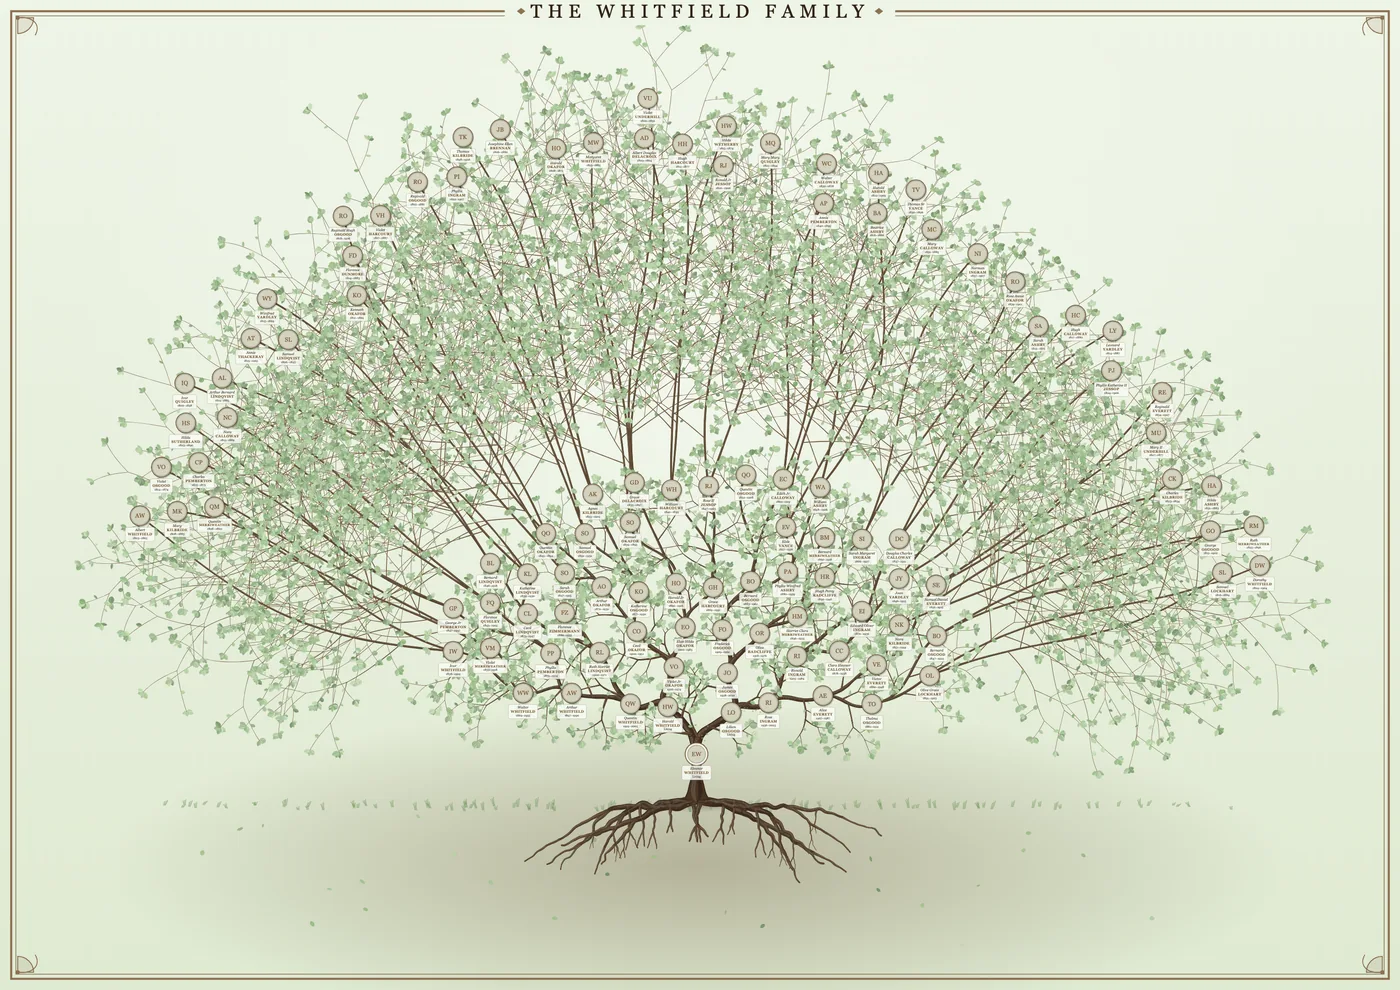
1. Gather your family tree data
You need your tree as a GEDCOM (.ged) file. Almost every family tree site and program can export one, including Ancestry and MyHeritage. See how to get a GEDCOM file. If you have not started a tree yet, do that first, because the poster can only show people who are in the file.
2. Decide what the poster is for
A poster for a hallway wants to look beautiful. A poster for a reunion wants every name to be readable. A gift wants the recipient’s own family. Decide which before you start, because it affects the design, the number of generations and the paper size.
3. Open it and choose the centre
Open the editor, add your file and search for the person who will be at the centre. Choose how many generations to show, and whether to include brothers, sisters, spouses and cousins. More people means smaller writing, so start with a few generations and add more.
4. Choose a design and make it yours
Pick a tree of life for display, or a wall chart for reference. Then choose a colour look, add a title and a border, and decide how the cards should look. Everything can be changed later.
5. Add photos
Faces make a poster. Gather scans or photos, then add them one at a time, or put them in a zip and name each file with a person’s ID or name so they match on their own. Crop each portrait to fit its frame. Photos are optional. Without one, a person shows their initials.
6. Fine-tune the layout
Drag people and branches into place, or use the distribute buttons to spread the tree evenly or organically. Bend branches with the handles. Use undo whenever you like.
7. Check the text size, then download
In the last step, choose your paper, and look at the smallest text size. If it is small, show fewer generations or choose a bigger sheet. Then download a PDF, PNG or SVG. Not sure which size? The size guide explains.
8. Print it
Take the PDF to a print shop, or print an A4 or A3 at home. Ask for a proof if colours matter. Allow some margin if you plan to frame it. A short wait for large formats is normal.
Frequently asked questions
How long does it take?
A first poster usually takes a few minutes to get on screen and as long as you want to spend adjusting it. Gathering photos is the part that takes time.
Do I need to pay?
No. Making and downloading is free. You pay only for printing.
Can I save my work and come back?
Yes. Your work is autosaved in your browser, and you can also save a project file to keep or move to another computer.
Ready to see your family on the wall?
It takes a few minutes, and you can try it with a sample family first.